One of the most cost-effective methods to market, teach and assist clients is via video. It can both save and earn money. There are a plethora of creative methods to edit videos on laptop. Without any sophisticated equipment, we'll guide you through 10 of the most accessible and easy methods to produce video.
Why You Will Need to Record and Edit Video for Your Laptop
You'll need to raise it a level if you want to make real movies. If you don't have the correct equipment, editing films on the fly, particularly for larger files and 4k footage, maybe a huge difficulty. Thankfully, computers have improved significantly in power and functionality over the last several years, making it simpler for filmmakers and artists to edit films from anywhere. Varying software programs place different emphasis on certain aspects of your machine.
You'll need a computer that can manage and analyze all of that data, especially with 4K, 6K, and even 8K videos. Do you want your computer to crash every few minutes or to be stuck in the spinning wheel of doom every time you make a change? For example, if you're someone who edits a lot on the go, you'll need a machine that's not just powerful in terms of specs, but also has a long battery life and is light enough to take about so you don't have to depend on a power outlet and a desk to edit your films. Consider what software you wish to use or are presently utilizing while selecting a laptop.
Knowledge Sharing
The video makes it simpler to convey emotion, and eliciting a favourable emotional response to your company helps to establish consumer loyalty and trust. Both the formal, top-down process of knowledge management and the informal, grassroots process of peer-to-peer social learning are critical for ensuring that the collective experience and insights of individual employees can be passed on and exchanged between team members when it comes to preserving and sharing institutional knowledge within an organization.
Education and Training
There are various advantages to utilizing videos in an educational context. Students, instructors, and educational institutions alike benefit from their convenience and variety, whether they are in elementary, high school, or higher education. By reaching a larger audience, digital videos assist to widen your audience. These may be shared on social media or placed on your institution's website, or linked in an email or digital marketing.
Marketing & Sales
Video may be a useful tool for salespeople to use throughout the consumer purchasing process, and it can do a lot more than just enhance engagement. Salespeople may use backend data to qualify and prioritise cold or unresponsive prospects. Video marketing is the use of videos to promote and sell a product or service, boost interaction on your digital and social platforms, educate your consumers and customers, and reach out to a new audience.
Corporate Communications
A video may give a considerable advantage to your consumers by being referred and reused often in use scenarios when a section of your product does not change frequently. In many circumstances, spending the effort to create a well-produced, aesthetically appealing video is worth it. All video material does not have to be well-produced or long-lasting. Small, easily changed or updated videos, especially if you don't need to update a voiceover at the same time, maybe a great tool for showing product updates.
How to Make Videos with DemoCreator on Laptop
DemoCreator is a free video editing software that strives to provide everyone with a professional editing experience. It's simple to alter the colour balance, cut clips, and export your creations in several video formats using this software suite. Set green screen chroma keys, build unique video masks, and take your film to the next level with a variety of 3D compositional tools with this free video editor. The DemoCreator user interface will be recognizable to anybody who has dealt with a sophisticated video editor previously, even though first-time users may find it a bit complicated.
How to Record Video on DemoCreator
Follow the steps below to find out how to record your videos with the DemoCreator easily:
Step 1: Download and Run DemoCreator
To begin, go to DemoCreator's official website and download the masterpiece installation for your PC, either Windows or Mac. This program is available in the stated versions. After that, launch the installer and install it using the default installation settings.
You may open it from your PC and, on the other hand, PC movies for recording purposes as soon as the installation is complete.
Step 2: Personalize Your PC's Display
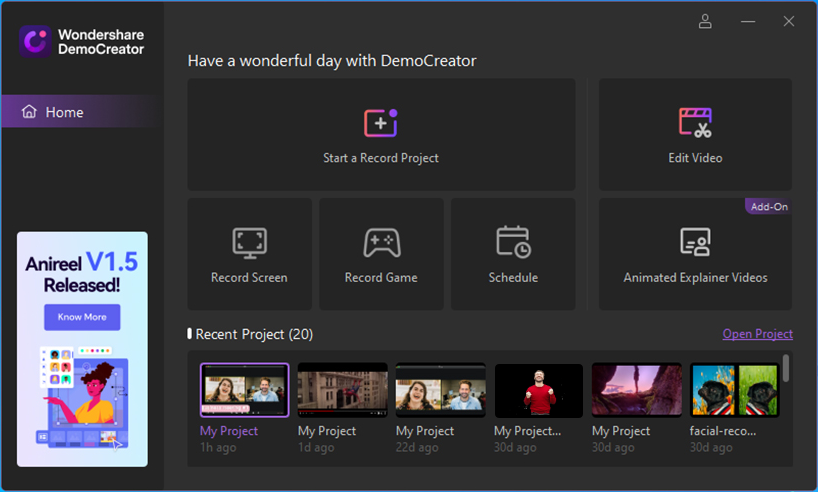
The interface that appears once you start Wondershare DemoCreator is as follows. Now you must click the Capture button to begin capturing your video screen:
You may choose the display interface you wish to record in your final film when on the PC screen section. After that, you may easily change your recording's parameters in the corner settings box, as shown in the UI. Simply choose the tab and make your PC video changes as desired. You may also select the audio input option, which allows you to record both audio and video.
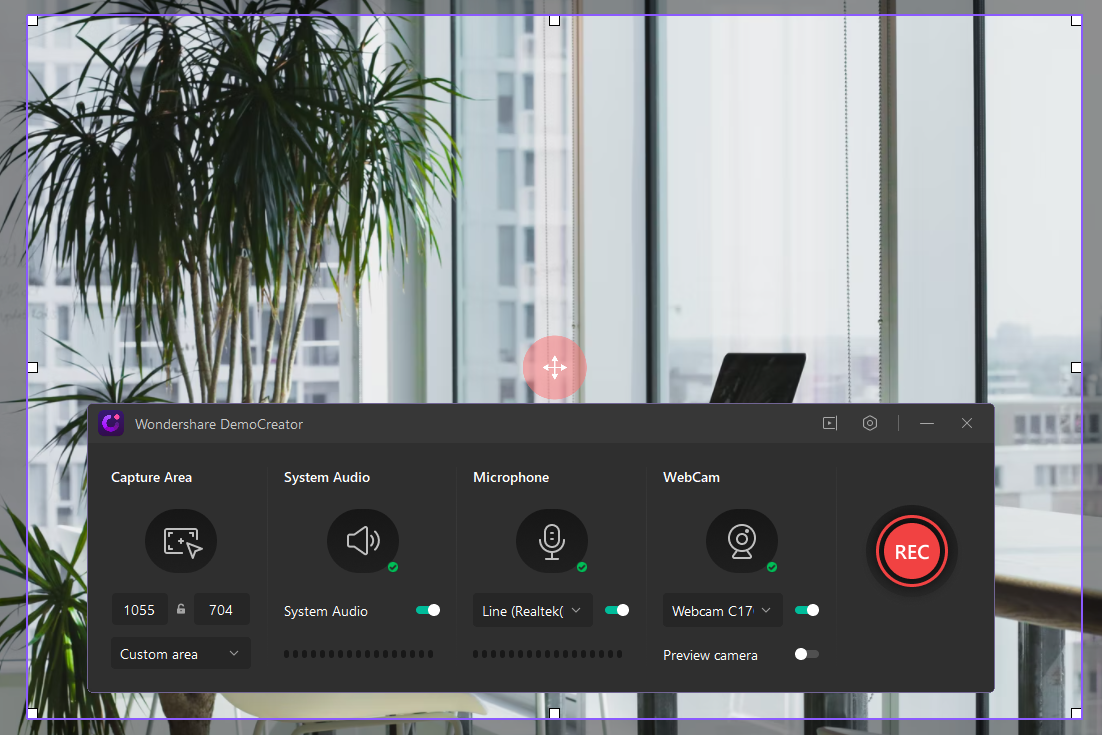
Step 3: Begin Recording
After you've finished with the settings, you'll need to go on to the recording interface to start the recording. Simply press the Start Recording button within the recorder window when you reach a moment where you wish to capture your game recording, as seen below. Your screen capture will now begin when a 3-second timer has been set.
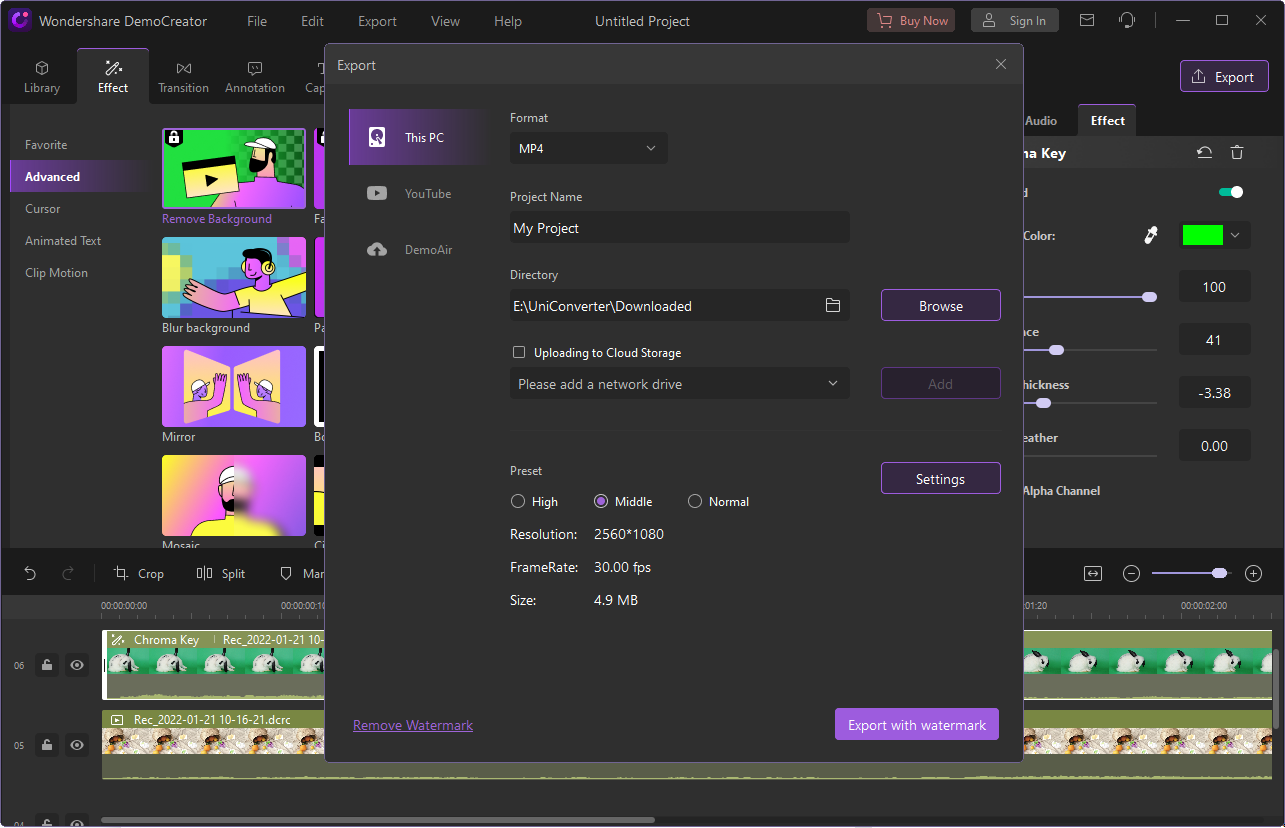
Step 4: Upload to YouTube and Save/Share
If you want to export the recordings straight immediately once you've finished recording the PC screen, for example, just press the Export button at the top of the video editing interface. Furthermore, if you want to post your video on a social site like YouTube, choose YouTube from the menu bar and login into your channel to do so quickly. You may also save it in the format of your choice.
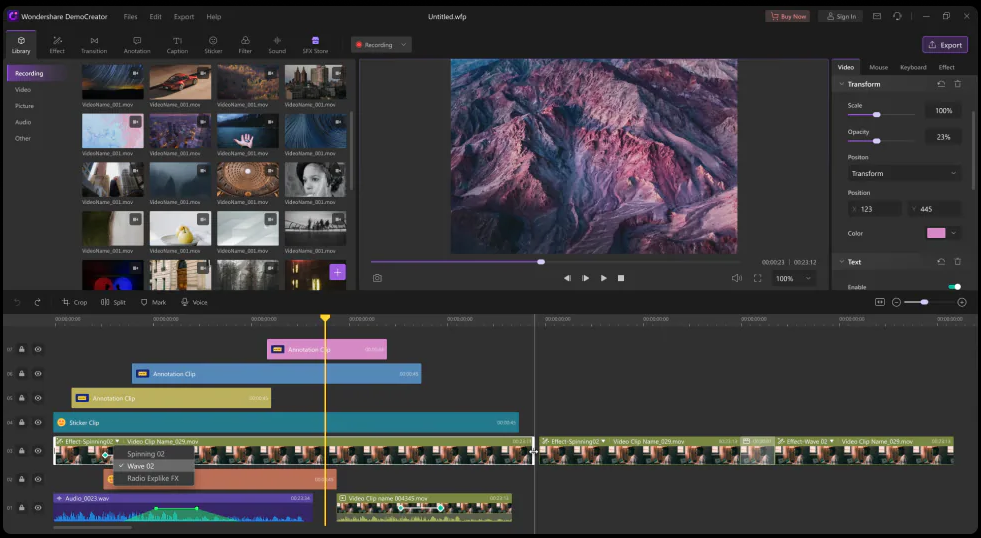
How to Edit Video on DemoCreator
When you choose DemoCreator, there are a variety of tools and resources available to help you create a film with a picture-in-picture effect. DemoCreator is a screen recorder that also includes a Facecam. It also provides very clear content and schedules so that a video may be produced fast and converted into one that supports level changes.
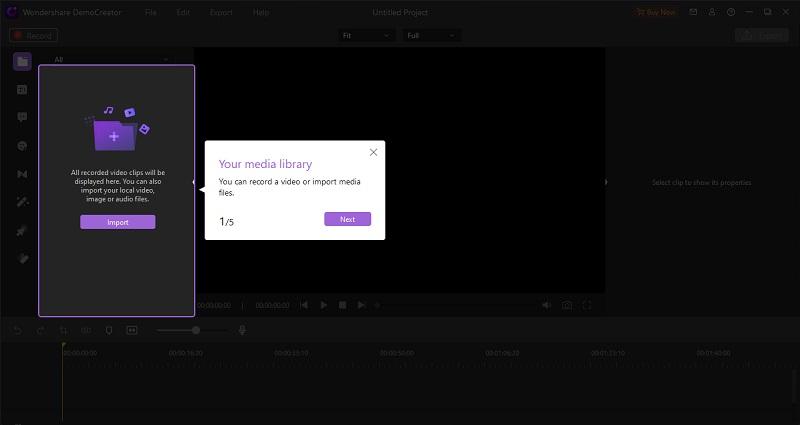
Step 1: Import the Recordings
When you reach the Video Editor's options or start another recording, you may also intriguingly use this opening screen. If you want to produce an instructional workout video, you may start by opening a new recording and following the procedures below.
Step 2: Edit the Recordings
You may then change the screen recording once you're within the DemoCreator screen recorder panel. You may now go to the recording window, where you can choose the screen size for recording and activate the Screen Drawing Tool. The most significant feature of a webcam recorder is that you will be fast sketching on your screen while simultaneously recording; you will want to record your camera, framework, or amplifier sound.
After you've finished recording, it is time to edit it in a lively manner. Drag your recorded file to the timeline below sit back and relax. You may easily inspect the video within the DemoCreator window to see if anything was left out that you desired.
Step 3: Save/Share the Edited Video
After you've finished recording using your webcam, you'll want to change the recordings. When the recording is finished, use the "F10" button on the console, which will also take you to the video editing program. You'll notice the recorded document in the video manager, which will thereafter be available in the video proofreader's media section.
You may also use the opposite vertical menu bar in the Export window to choose the encoder as well as the file format, and after you're done with that, you can press the Export button on the fly.
How to Add Effect on Laptop with DemoCreator
Furthermore, inside the editor, you can also add the following variety of effects to your videos. To do that, refer to the following steps:
Step 1: Add Annotations
With its intriguing annotation stock provided in this video editor, you may test out outclass titles and text dimensions to your videos:
Step 2: Add Captions
Your viewers will be able to comprehend your films thanks to captions. Wondershare DemoCreator enables you to add as many subtitles as you like to your videos so that your audience can better understand what you're saying.
Step 3: Add Stickers
You may put a lot of stickers in your video material using this software video editor since it has a lot of sticker stock. This application has a sticker menu where you may choose one.
Step 4: AI Facial Recognition/Green Screen
Be it be AI facial recognition or Green Screen, Wondershare DemoCreator video editor's built-in version enables you to edit your recording with AI recognition and green screen recordings as well, which is a unique feature.
Step 5: Transition Effects
Other fundamental effects that you may design for your video material and put in Wondershare DemoCreator will bias the audience to congregate around your movies with eye-catching specs. With only a few clicks, you can test out its greatest transition effects, speed settings, slow-motion creation, loudness augmentation, and much more.
How to Make Animated Video – Anireel
Anireel is the most straightforward tool for making custom animated character videos. You can simply make animated movies for marketing, knowledge sharing, e-learning, and more with rich, ready-to-use elements and scenes! Characters, actions, objects, text, and audio resources may all be dragged and dropped.
Wondershare Anireel makes creating engaging animated explainer videos in a breeze. From scripts to animations, from text to voice, all it takes is a single click from Anireel! To bring your work to life, choose the best-animated video creating software for PC. You may simply produce animated videos for marketing, knowledge sharing, and other purposes using a variety of ready-to-use assets and settings.
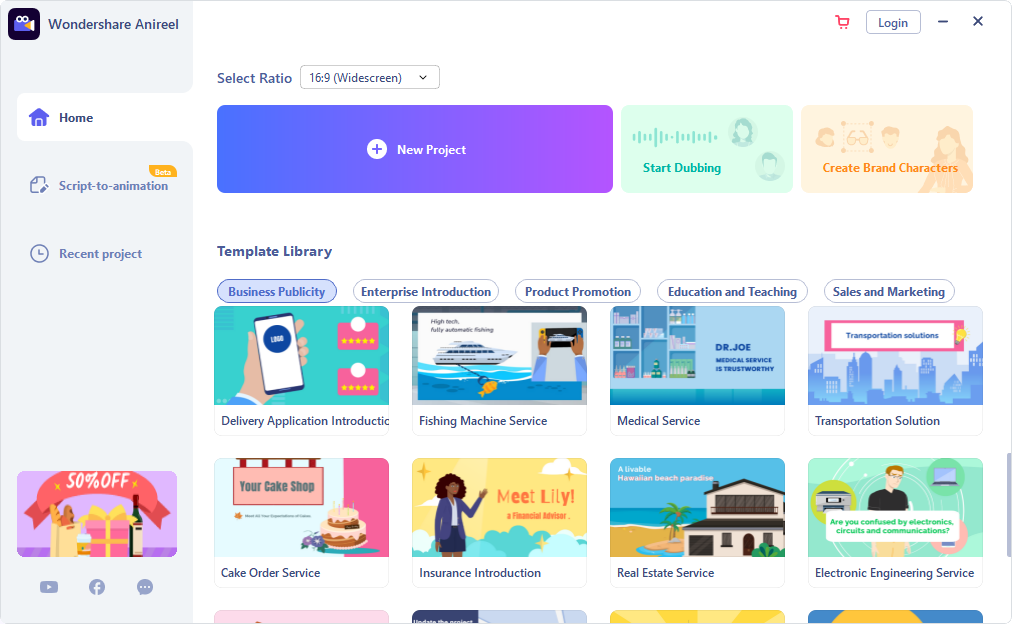
Step 1: How to Choose the Video Templates
Open the newly installed Anireel on your systems and it should look like this. From the UI, you can see the different sections of the software. Refer to the New Project and from there, you can add the imported files to your project as shown here. Now you can also add the selected template according to your topic.
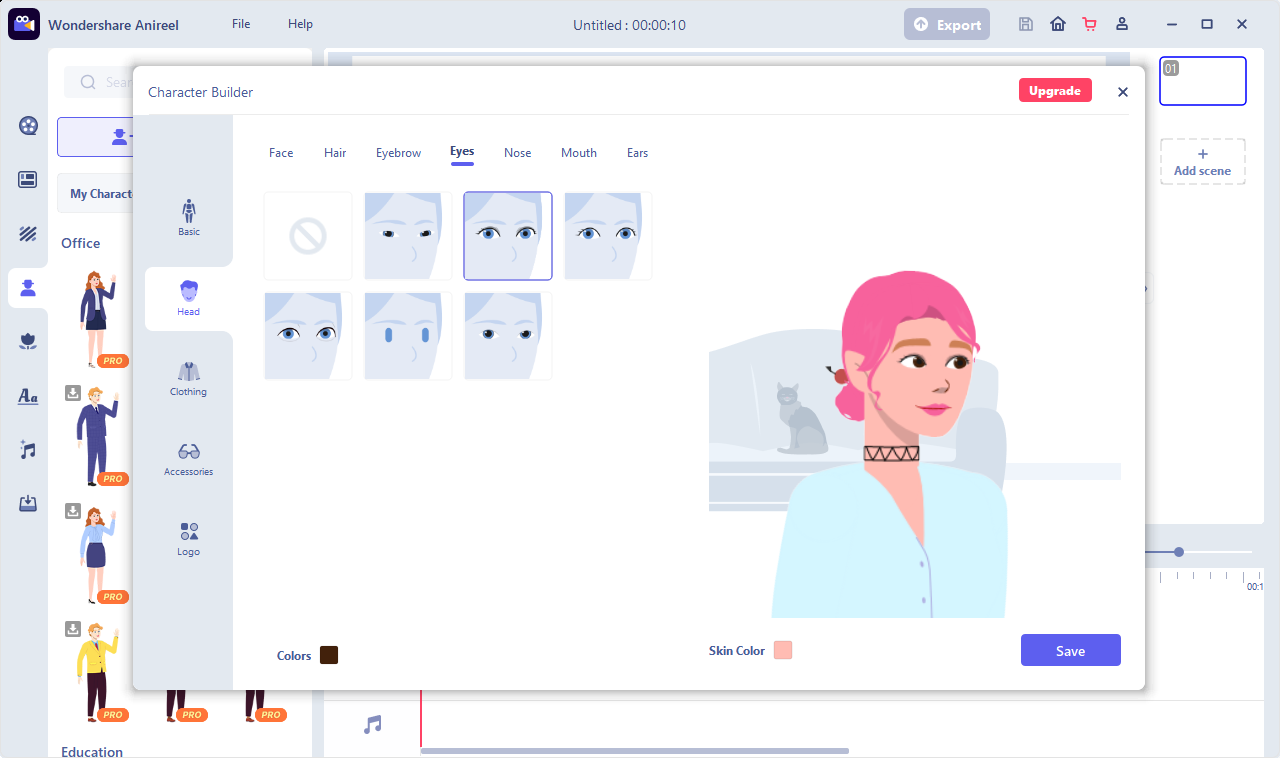
Step 2: How to Customize Branded Anime Character
If you’ve chosen by selecting your favourite character from the available templates, then you can simply customize the character by selecting it from the menu as shown here:
Step 3: How to Text-to-Speech
To add this feature, go to the Import button and the Audio section to include the TTS; Text-to-Speech window as shown here. Simply select your audio file and make your Text-to-Speech enabled easily.

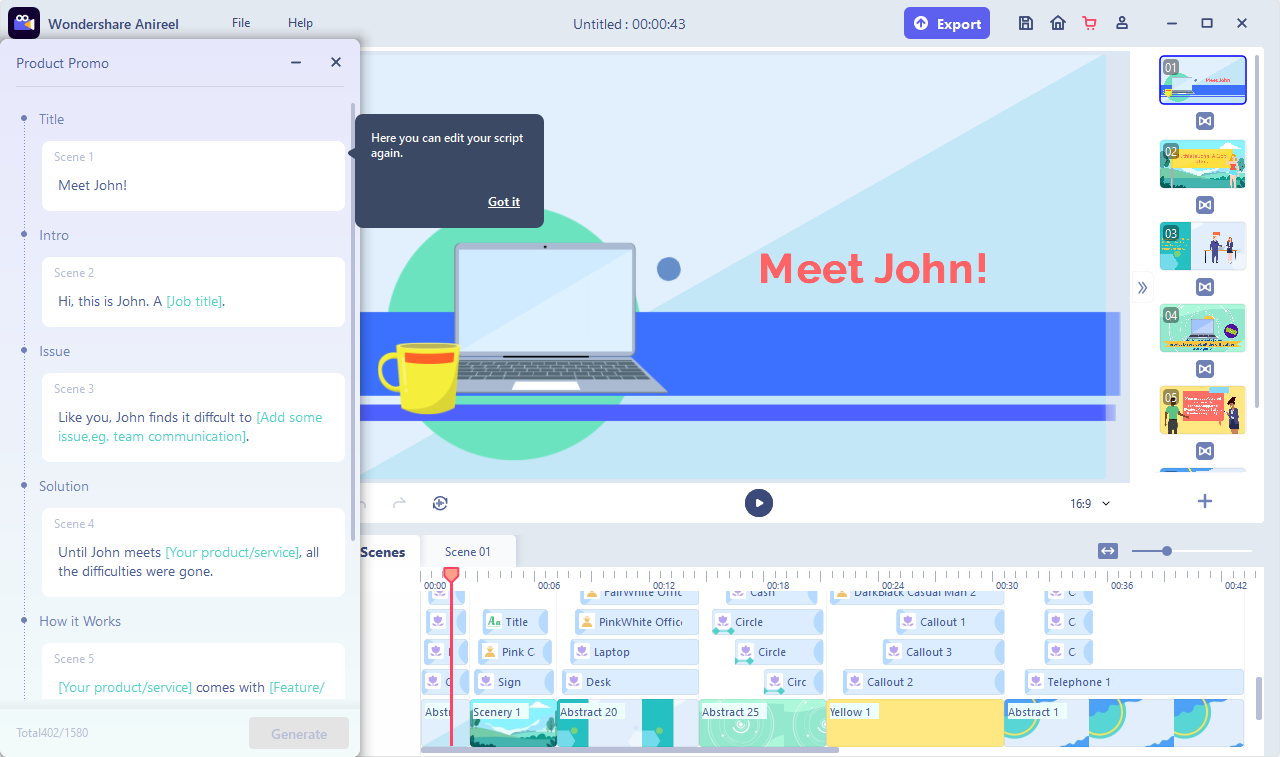
Step 4: How to Turn Scripts into Video with One Click
You can also turn your scripts to the Video, that too, with a simple one-click. To do that, go to the Script to Animation menu and from there, select your desired script to video conversion as shown here:
How to Make Quick Video with Web-Based Screen Recorder
DemoAir is a fantastic screen recorder application that allows you to capture real-time recordings with internal sound, export titles in various video or sound formats, and adjust the recording duration for video on the web. DemoAir Screen Recorder allows you to record screen recorder for browsers in HD resolution for free, as well as the internal sound by enabling the framework sound account functioning.
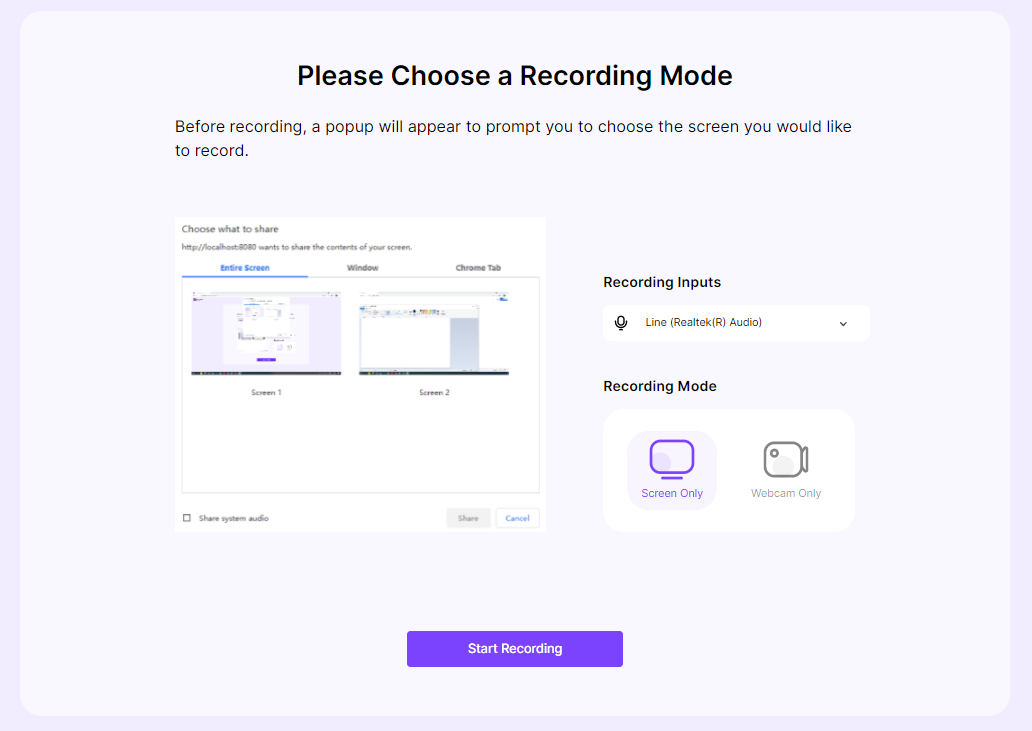
Step 1: How to Record Online with DemoAir
To record your content with DemoAir, go to your browser where you’ve installed it, and from there, open the extension when you’re at the page where you need to do your recording. From there, you can record your screen online as shown here:
Step 2: How to Share Quick Video Message with DemoAir
As soon as you’re done with the recording, you can share a quick message to your audience on the go. Simply share the recording with a shareable link or stream your recording in the DemoAir easily.
Step 3: How to Share to Classroom with DemoAir
Inside DemoAir, you can share your recordings to the classroom directly by clicking this Classroom button as shown here:
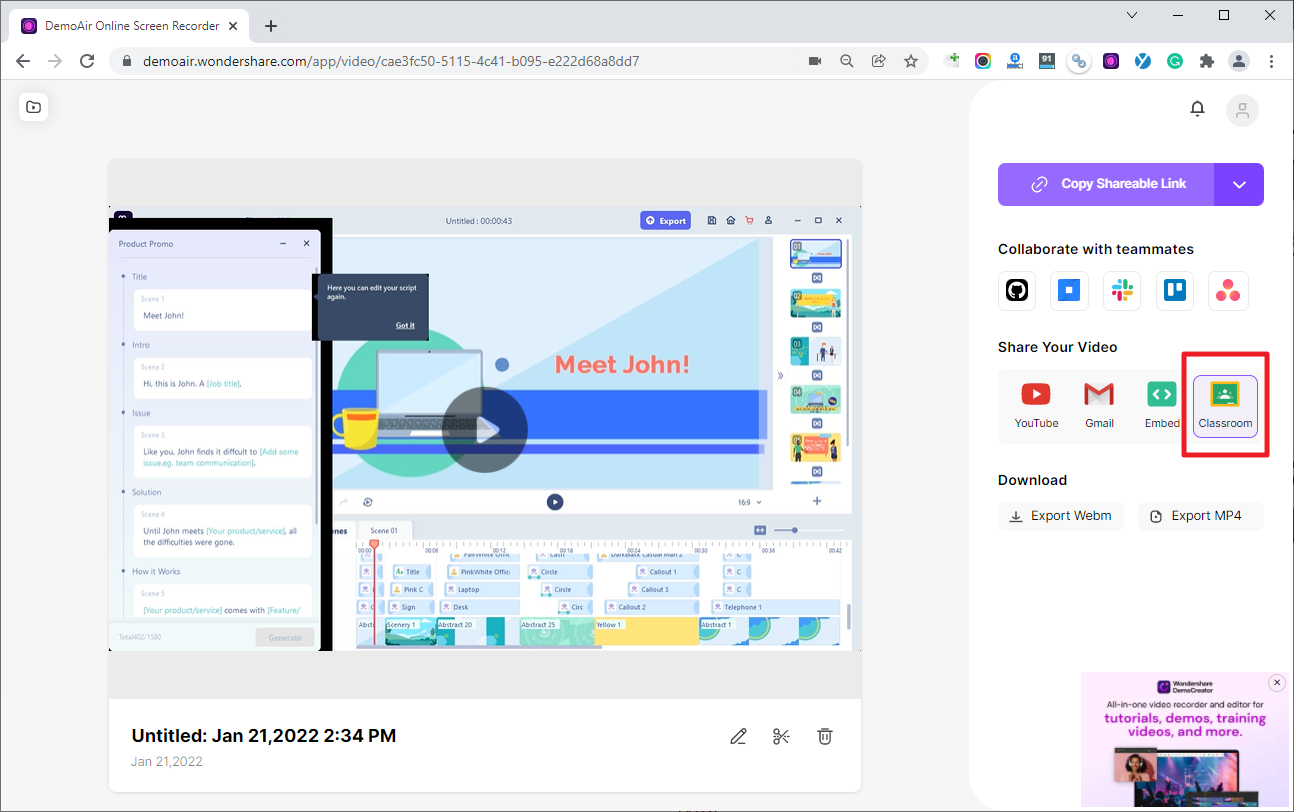
Distribute and offer screen captures and recordings straightforwardly to your favoured cloud administration. The zoom apparatus permits clients to focus on any segment of their screen while recording. There are no recording constraints. Clients can record so a lot or as little as they need to.
Conclusion
An engaging video may assist fuel your brand's success in a world driven by visual material. However, outstanding video footage can only be created with the aid of editing tools. It's now a one-stop solution. DemoCreator, DemoAir and Anireel now are in one package. DemoCreator is for your desktop recording and video editing with resourceful stock. DemoAir is for your quick video sharing and video storage. Anireel provides a flexible resolution for your animated video making. Enjoy 3 products in one plan now.


